ADVERTISEMENT
Step 5. Secure The Seating Blocks To The Base

First, make sure that everything lines up before gluing the side-facing seating blocks to the base.
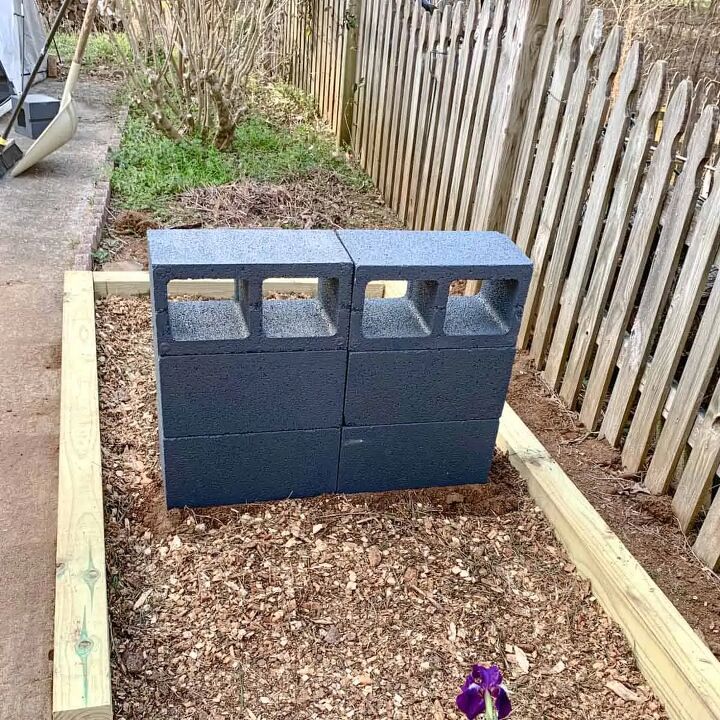
Take the four side-facing blocks and place them on each side of the base (holes facing sideways).
Get four of the 4x4s and set them in the holes to make sure the bench seating lines up straight and is level.
If everything looks good, then go ahead and glue the seat blocks to the base. Otherwise, adjust them first before gluing them.

When gluing these, do the same as in the previous step, but this time you can apply the glue to the narrow edges.
This is because the seating blocks above are laying on their sides so you have the entire surface for the glue to adhere to.
Also, be sure to have the wider, better-looking hole edges facing out, the narrow edges will face inward. This also becomes a nice little arm rest.
Step 6. Glue The Back Support Cinder Blocks To The Seating Blocks

Add glue at the back of the block at the back and then place a block sitting in a vertical position.
Don’t put any glue past the middle point, stay within the end of the hole.

Alternatively, you can just apply the glue to the end of the back support block if you aren’t sure where the glue should go. Now just place the block vertically on top.
Step 7. Assemble The Cinder Block Bench Seating And Back Posts
Be sure to let the glue dry enough to get tacky before placing the posts into the holes, 10-15 minutes should be fine.
First, consider which side of the posts you want facing up since some sides of the post look nicer than others, depending on the grain and knots. Just gently insert each into the holes, leaving equal spacing on each end.
Wait 24 hours before testing out the bench seating. The reason for this is that the glue hasn’t cured yet and your blocks may slide out of place while the glue is still wet under the added weight.
Feel free to add seat cushions and decorative pillows for extra comfort and ambience to your super sweet cinder block bench!

ADVERTISEMENT