ADVERTISEMENT
Timing:
Ideally, you’ll need 3-4 continuous days without rain if you are doing this outside. It can be done in three days, but you’ll have to stay on top of your timing.
You’ll need to figure in drying times after washing the blocks, then priming, flipping the blocks, painting, flipping and then repeating for one more coat.
Why Paint The Cinder Blocks?
The reason you should paint the cinder blocks is that it will help preserve the wood posts. By painting the blocks, you are waterproofing them.
If they aren’t painted, they are absorbing water, so the wood will be sitting in holes that are constantly wet when it rains.
Even though the posts will be stained and coated with urethane, they will be much more likely to rot. Painted cinder blocks will dry much more quickly and wick away much of the water.
How to Make a Cinder Block Bench Step by Step Tutorial
Step 1. Wash The Cinder Blocks

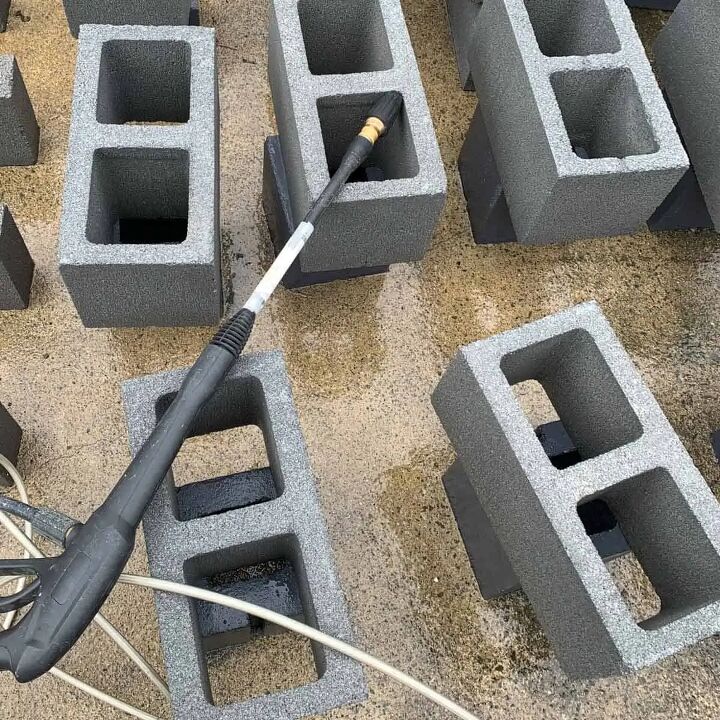
Place the cinder blocks on top of something so that they aren’t sitting on the ground. That way they don’t end up sitting in their own dirt and can dry more quickly.
I had square cinder blocks leftover from another project that I used to raise them.
Add TSP to the soap canister in the power washer, or fill a 2 gallon bucket with water and ¼ cup of TSP and wash down the blocks, if hand washing, use the scrub brush to help remove dirt and oil.
Let these dry in the sun at least a day, and flip them at least once. The blocks must be completely dry before you paint them or the paint will peel.
It may take more than a day to dry, especially if it’s not sunny. Wind will help.
You may notice in the photo that there are also concrete blocks, if you missed it in the intro above, those are for the upcoming planter box add-ons.
ADVERTISEMENT